The list covers chunky twist-outs with big sections and a quicker takedown, flat twist-outs, and high-definition sets built on small, even parts that take longer to install, plus takedown, upkeep, products and mistakes.
Chunky sets and high-definition sets pull against each other on time, so I’d pick based on how many hours you have and whether you want fullness or crisp, separated coils.
Dry hair is non-negotiable before you open a single twist, since any dampness left inside turns the set into frizz with no definition.
1. Gently Separate the Twists
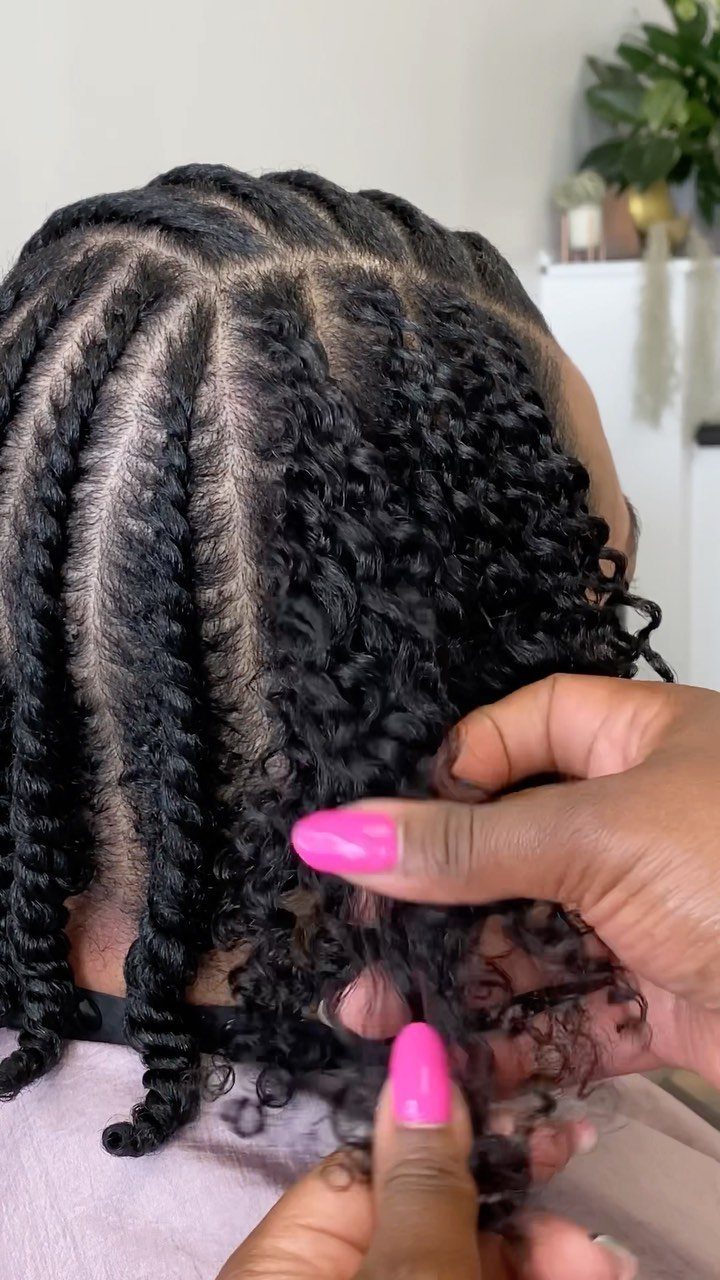
Separating twists is where a twist-out is won or lost on 4C hair. Rushing it pulls the pattern into frizz, so go slowly and let each twist open on its own.
Work from the ends upward, and keep a little product on your fingertips so the strands don’t grab each other. Fingers are gentler than a comb here, and I’d skip the comb entirely until the set is fully open.
Make sure the hair is completely dry first. Damp twists unravel into a puffy, undefined mess.
2. Chunky Twist-Outs
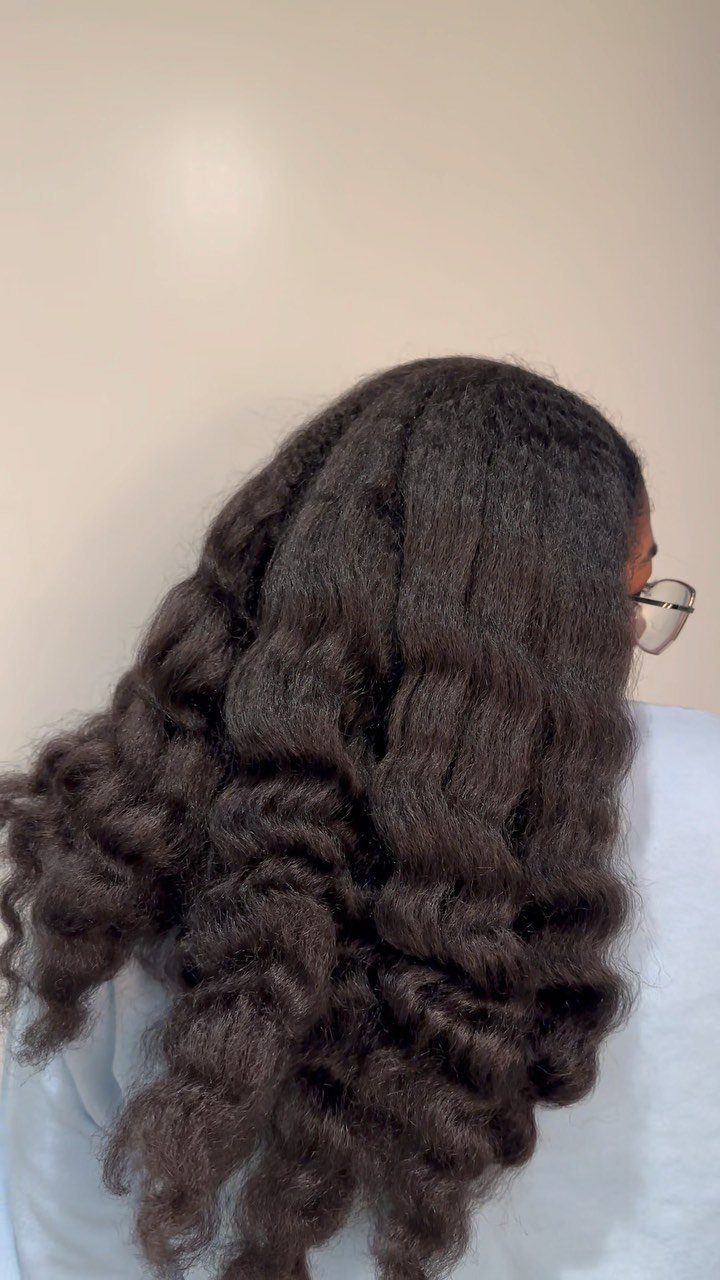
Big sections mean big volume, and that is the whole appeal of a chunky twist-out. Fewer twists also make for a shorter install and a faster takedown, which suits a busy schedule.
Chunky twists give up some definition: the curl pattern reads looser and softer, with less of the crisp, separated coil you get from smaller sections. Each section opens into a wider, softer curl, so expect fullness over fine detail.
Part the hair into large sections and twist each one from root to tip, keeping the tension even so the twists stay smooth and uniform.
Fluff gently at the roots after separating, and the shape fills out without much more effort.
3. Flat Twist-Outs
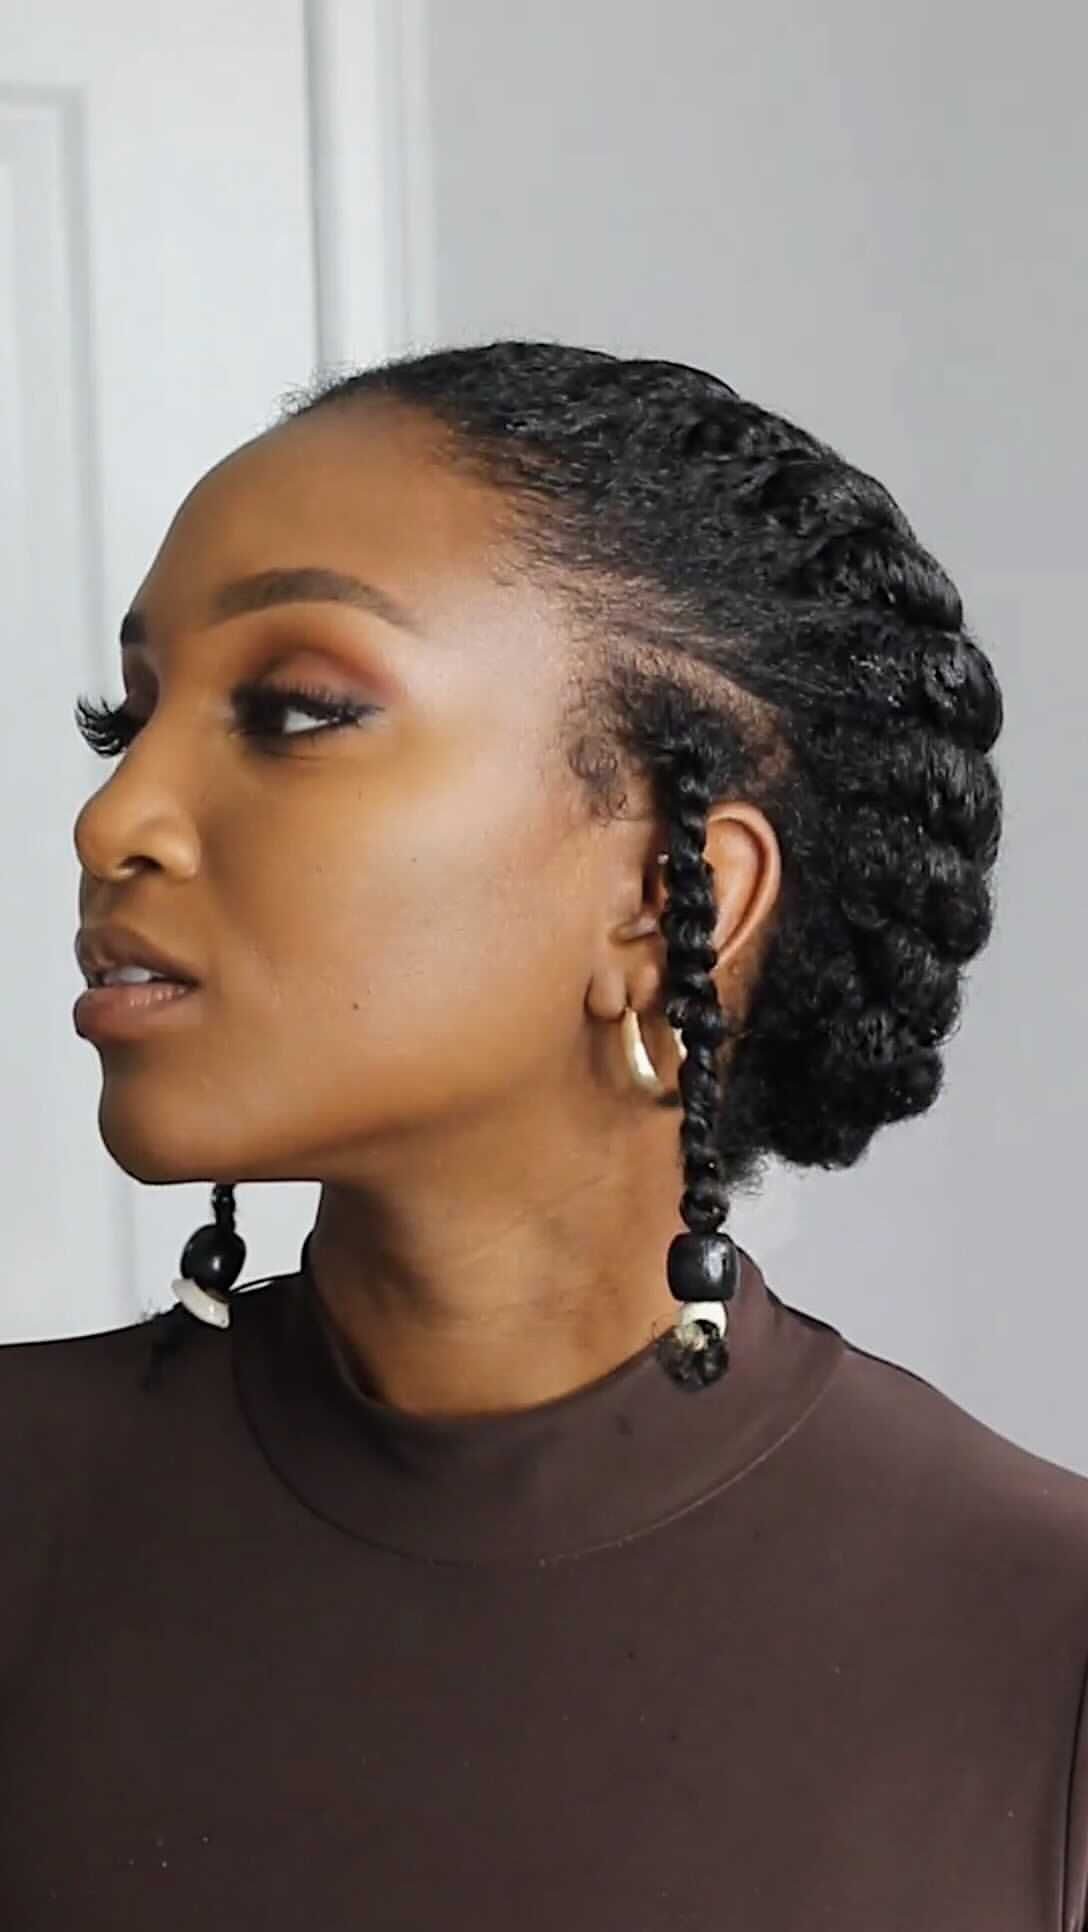
Flat twists change the shape of a twist-out because the front or sides lie against the scalp while the ends hang free. The result is a neater, more styled finish than a standard set.
Flat twisting also keeps hair off your face, which makes it a practical choice for work days. Leave the ends as two-strand twists and unravel only those, so the top stays sleek and the length gets its pattern.
Beads slide onto the ends of the twists once they are in place, and they add color and a little weight, though you should take them off before you unravel the twists.
4. Tightly Twisting Sections of Hair
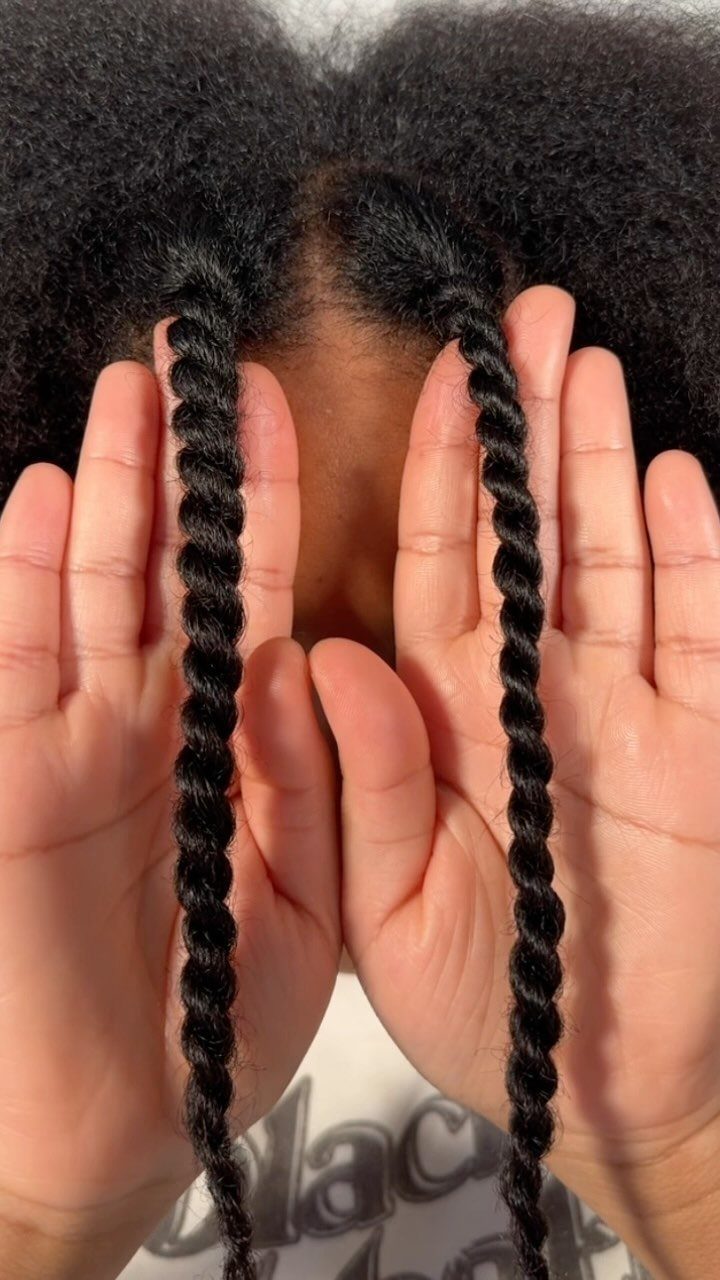
Tension decides how a twist-out turns out, and tight twisting is where it starts. Wrap the 2 strands snugly around each other from root to tip, so every section holds its shape.
Loose twists open into fuzzy, uneven curls on 4C hair. Tight ones give clearer separation once they are taken down.
Finish each twist at the very end of the hair, since an unsecured tip is the first spot to frizz. Keep the tension firm but not painful at the scalp.
The twist-out is a battle for many but a breeze for some. If your healthy tresses are anything like mine, you’re lucky if you get a full day from a twist-out on your kinky coily curly hair.
5. High-Definition 4C Twist-Outs
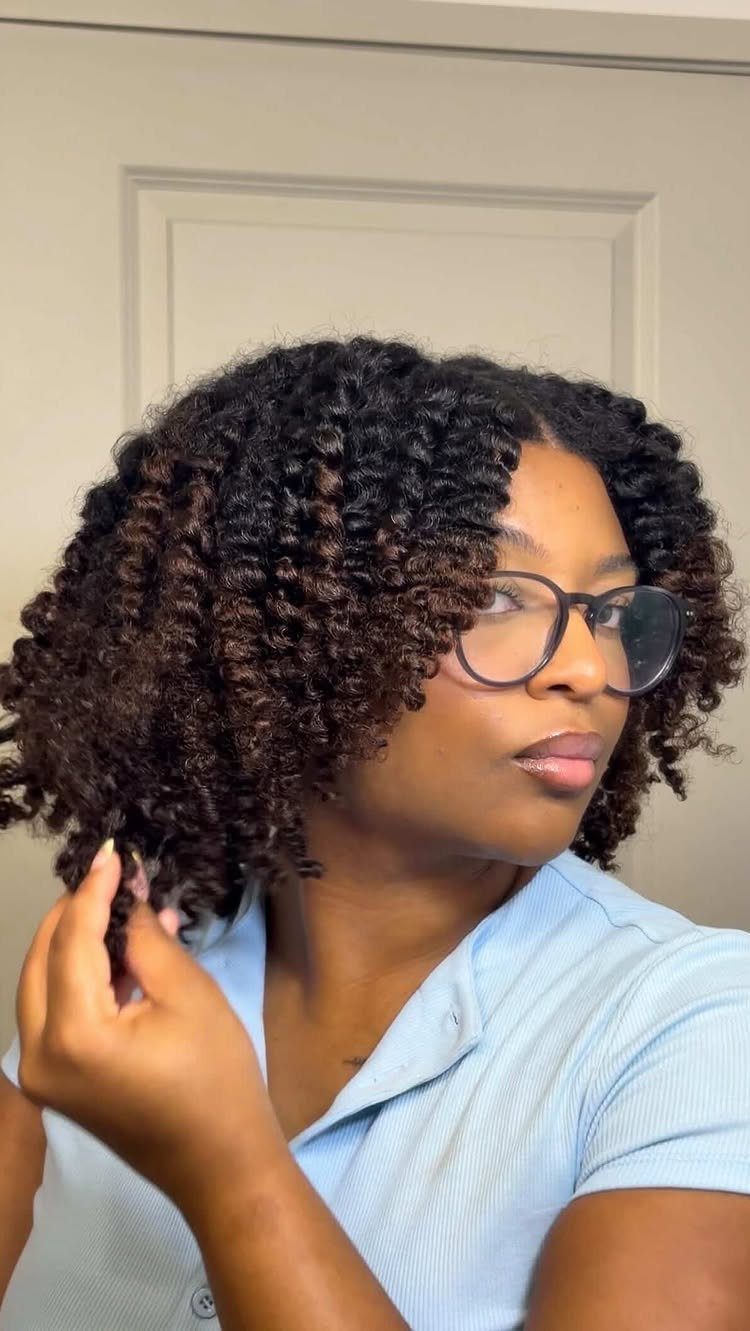
Definition is the goal here: each curl stays distinct from its neighbors instead of blending into one cloud. On dark 4C hair that clarity makes the pattern read sharply.
Small, evenly sized sections matter most, so part carefully and keep every twist about the same thickness. Smooth product through each section before twisting, and don’t touch the set until it is fully dry.
I prefer this look over a fluffed one when I want a polished finish. It does take more time to install than a chunky set.
6. Pre-Takedown Two-Strand Twists
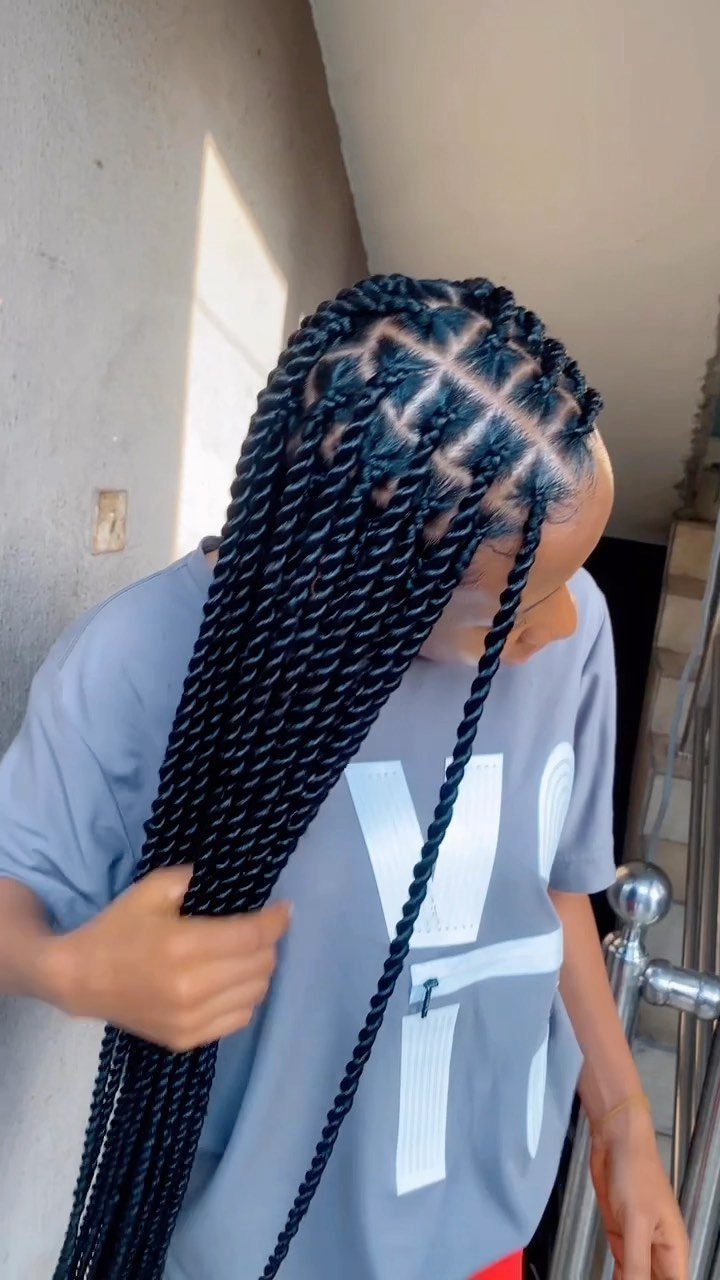
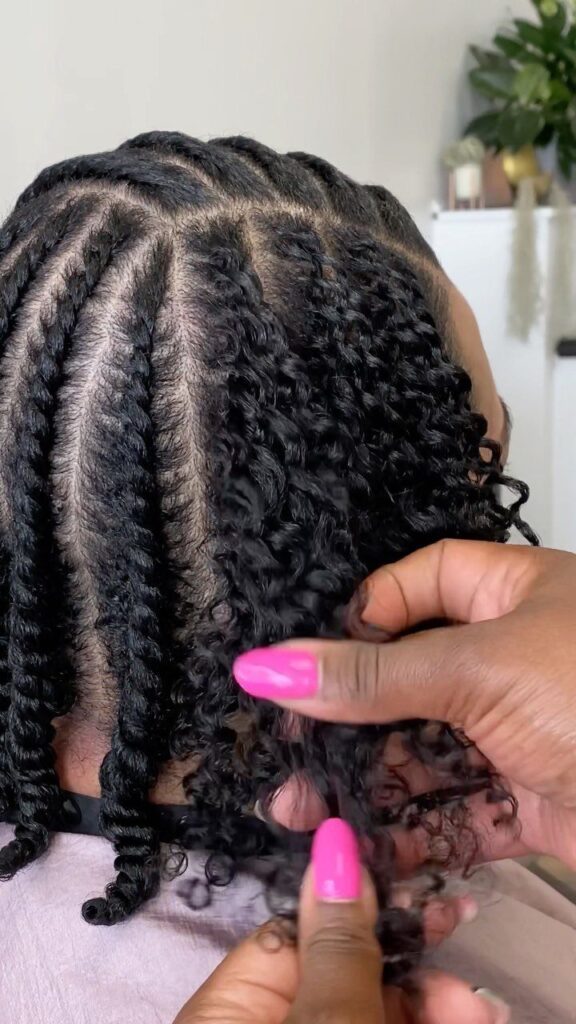
Before any twist-out appears, the install sets everything up. Long two-strand twists on neatly parted rows across the scalp give a clean base, and the parting you choose shows in the finished curls.
Use a rat-tail comb for straight, even lines, and keep each section the same width. Uneven parts mean uneven curls later.
Leave the twists in until they are completely dry, then unravel them gently from the ends. Rushing the takedown undoes the careful work of the install.
Maintaining Twist-Outs
Moisture before you twist is what keeps a set going. Work a leave-in conditioner through the hair while it is damp, then seal with a curling cream so each section stays soft.
After that, hands off as much as you can.
At night, a satin bonnet or scarf keeps the pattern from rubbing into frizz.
Touching the curls all day breaks them apart, so I save fixes for the morning, with a light misting of water or a little cream on dry spots.
Best Products for Twist-Outs
For 4C strands, I start with a water-based leave-in for slip and moisture, then layer a curling cream on top to give each twist some hold and definition.
The leave-in adds slip and moisture, and the cream gives the curls their grip.
On shorter hair, I like a three-step layer: moisturizer first, then curling cream, then gel on top. Twist in small sections and the gel helps the coils stay tight once unraveled.
Gel can feel stiff, so test a small amount on one section first. Choose products made for coily textures, and add more only if the hair still feels dry.
Common Mistakes
Unraveling twists that are even a little damp is the fastest way to lose a set. Hair can feel dry at the surface while the center of each twist is still wet, so give it more time than seems necessary.
Too much product causes its own trouble. Heavy layers of cream and gel weigh the curls down, leave residue, and make the pattern look dull instead of defined.
Start with a small amount per section and add only if the hair drags. Twisting on damp hair works with cream and gel, but only if you let every twist dry completely before you open it.